


PermalinkIntroduction
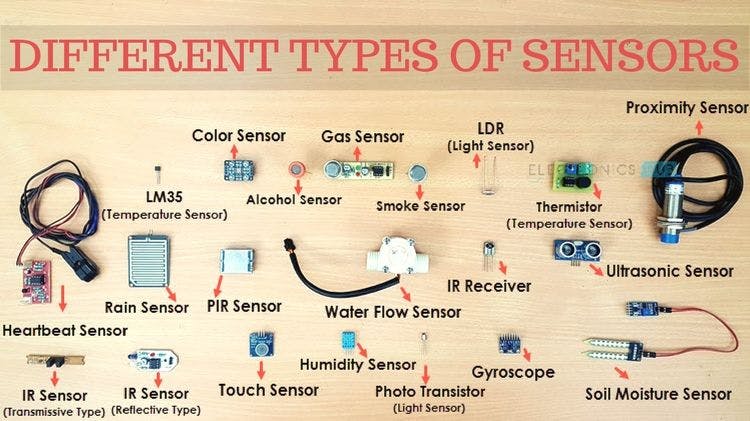 A sensor is a device that measures a physical quantity and converts it into a signal which can be read by an observer or by instruments. Sensors are used in everyday objects; some applications are cars, machines, aerospace, medicine, manufacturing, and robotics. Different types of sensors include color sensors, LDR (light sensor), touch sensors, smoke sensors, ultrasonic sensors, etc. In this blog, we are going to discuss ‘Ultrasonic Sensors.
PermalinkWhat are Ultrasonic Sensors?
 Ultrasonic sensors have been a popular method for distance measurement and object detection for many years. An ultrasonic sensor is a sensor that measures distances through ultrasound which travels through the air. If the ultrasound hits an object or obstacle on its path, it will then bounce back towards the sensor.
PermalinkStrengths of ultrasonic sensors
- Ultrasonic sensors are highly reliable and can be trusted to produce consistent results.
- Ultrasonic sensors typically offer relatively precise measurements, within 1% and even more precision if desired.
- They are straightforward on the pocket.
- Ultrasonic sensors can take many measurements per second, so it has better capability than other sensors.
- Ultrasonic sensors come with minimum and maximum ranges that are pretty flexible. Nowadays, most ultrasonic sensors can detect a few centimeters and go up to as far as five meters (approx.). Specially configured modules can even detect up to nearly 20 meters.
PermalinkLimitations of ultrasonic sensors
- Since ultrasonic sensors rely on emitting sound, and we know that sound needs a material medium to travel, it cannot be used in a vacuum.
- Regular maintenance is essential to avoid erratic or non-functional behavior because ultrasonic sensors can get dirty, wet, or frozen, affecting their functioning.
- Ultrasonic sensors are not immune to temperature changes. The speed of sound varies with the temperature of the surrounding environment, affecting the working of ultrasonic sensors.
PermalinkHow does it work?
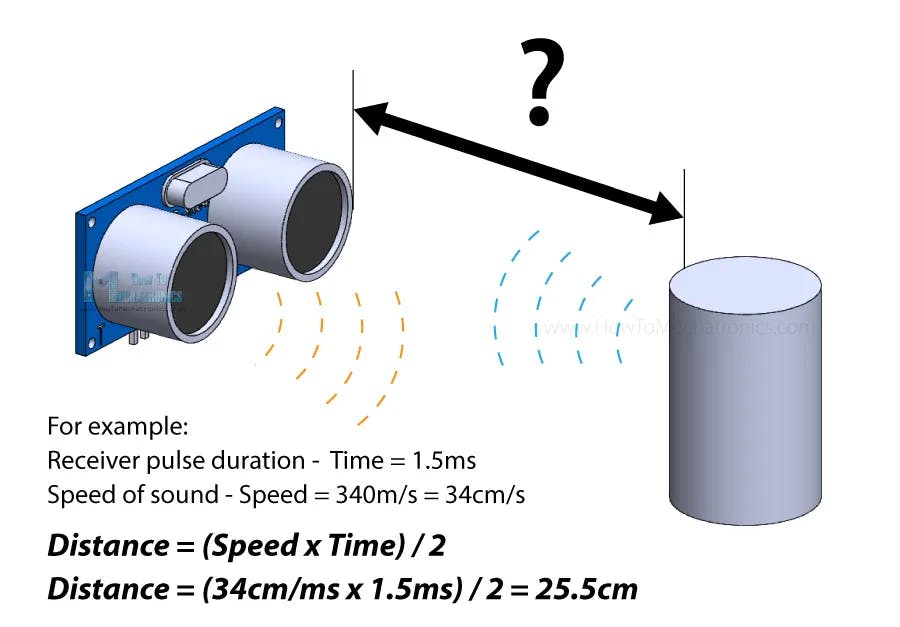
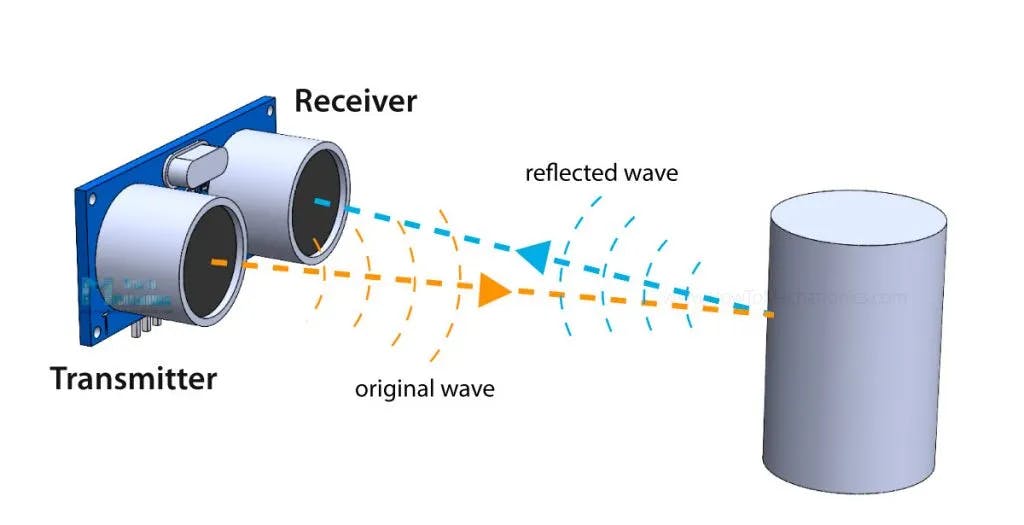 Ultrasonic sensors emit short, high-frequency sound pulses at regular intervals. These propagate in the air at the velocity of sound. If they strike an object, they are reflected as an echo signal to the sensor, which computes the distance to the target based on the period between emitting the signal and receiving the echo. The time between the transmission and reception of the signal allows us to calculate the distance to an object. This is possible because we know the sound’s velocity in the air. Here’s the formula:
Distance to an object = ((speed of sound in the air)time)/2
PermalinkExamples of Ultrasonic Sensors
Permalink1. HC-SR04:
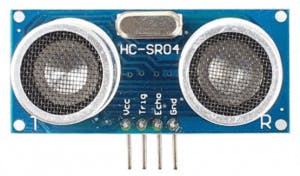 This is the most popular ultrasonic sensor commonly used with the Arduino board. It has four-pin configuration: Trigger, Echo, Vcc, and Gnd. The path time of the echo pulse starting from trigger to receiving of echo pulse is roughly 20ms. Thus it is advisable to set the delay to more than 20ms for the echo pin to receive the echo pulse.
Specifications-
- Power Supply: DC 5V
- Working Current: 15mA
- Working Frequency: 40Hz
- Ranging Distance : 2cm – 400cm/4m
- Resolution : 0.3 cm
- Measuring Angle: 15 degree
- Trigger Input Pulse width: 10uS
- Dimension: 45mm x 20mm x 15mm
Permalink2. HC- SRF05:
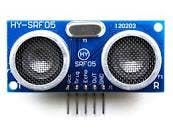 This is a 5 pin ultrasonic sensor like the other ultrasonic sensors like HC-SR04; the only difference is the extra pin OUT, which switches the sensor modes between single pin operation and dual pin operation. In a single-pin way, only one pin can be used as both Trigger/Echo. On the other hand, in a dual-pin manner, the sensor is used like a 4-pin sensor HC-SR04.
Permalink3. US-100:
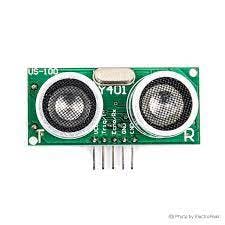 This ultrasonic sensor type differs from the others discussed above; there are 5 pins on the sensor Vcc, GND1, GND2, Tx, and Rx. This sensor outputs two types of signals: serial data output and pulse data output. The extra pin’s function is to select the operating mode. The operating mode of the sensor is configured by using the jumper on the back of the module. When the jumper is present, the sensor outputs the distance as binary serial data. Otherwise, the sensor outputs a single pulse with a width representing the distance measured.
Permalink4. Parallax Ping:
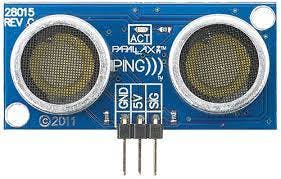 This is a 3-pin ultrasonic sensor, which can measure distance up to 2 cm to 3 meters. The single Bidirectional I/O pin makes it friendly with most controller boards available in the market, e.g., BS2 and Arduino. The 3 pins are: Vcc, Gnd, and SIG (signal). The signal pin is the bi-directional pin configured as both trigger and echo.
Permalink5. Grove – Ultrasonic Distance Sensor:
 Another example is Grove. It can measure from 3cm to 350cm with an accuracy of up to 2mm. It is a perfect ultrasonic module for distance measurement, proximity sensors, and ultrasonic detectors.
Specifications-
- Power Supply: 3.3V – 5V
- Operating Current: 8mA
- Working Frequency: 40Hz
- Ranging Distance : 3cm – 350cm/3.5m
- Resolution : 1 cm
- Measuring Angle: 15 degree
- Trigger Input Pulse width: 10uS TTL
- Dimension: 50mm x 25mm x 16mm
PermalinkApplications of Ultrasonic Sensors
Ultrasonic sensors are widely used in several industrial and consumer applications. Their low cost, simple functioning, and sturdy build make them a good bet for new products or services that need presence detection or distance measurement. They also allow changes in their hardware and software configurations, making them even more valuable and versatile.
 Below shared are some of the major applications of ultrasonic sensors:
- Presence detection.
- Sorting boxes using an ultrasonic monitoring system powered by many transducers.
- Bottle counting on drink filling machines.
- Pallet detection with forklifts.
- People detection.
- Profiling using ultrasonic systems.
- Vehicle detection for car wash and automotive assembly.
- Liquid level control/tank level control.
- Loop control.
- Tension control.
- Robotic sensing.
- Stacking height control.
- Detecting thread or wire breaks.
PermalinkUltrasonic Sensors and Arduino
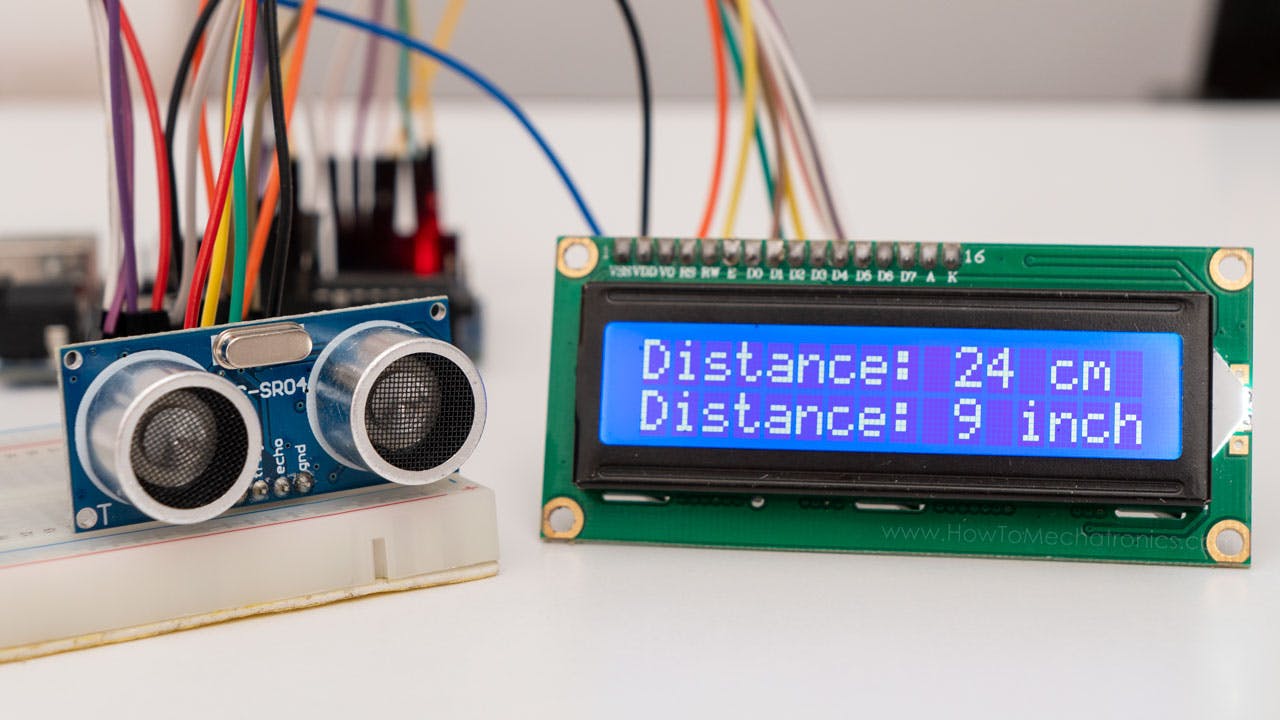
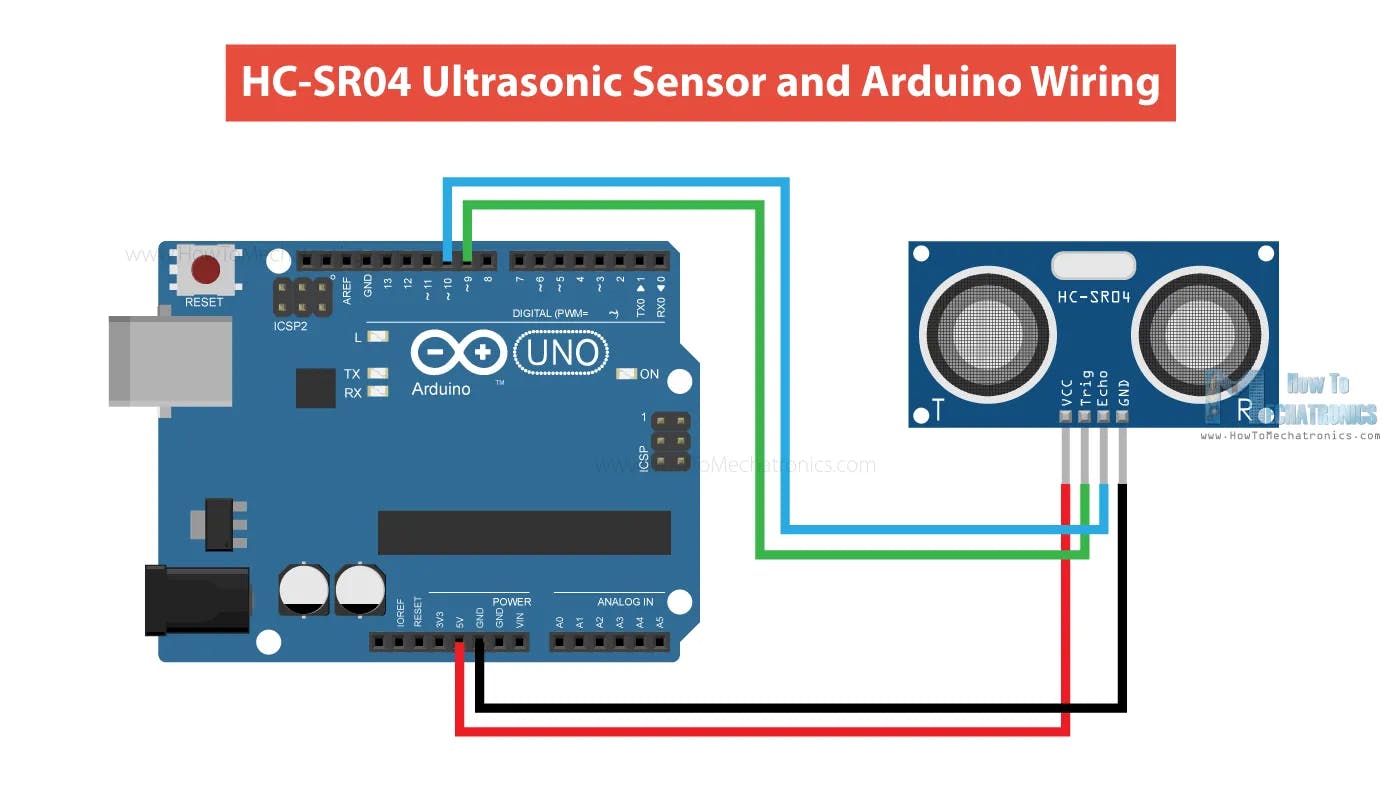
We will use The HC-SR04 as it is an affordable and easy-to-use distance measuring sensor ranging from 2cm to 400cm (about an inch to 13 feet).
Here’s how we need to connect the HC-SR04 sensor to an Arduino board.
PermalinkHC-SR04 Ultrasonic Sensor Arduino Code
// define pins numbers
const int trigPin = 9;
const int echoPin = 10;
// define variables
long duration;
int distance;
void setup() {
  pinMode(trigPin, OUTPUT); // Sets the trigPin as an Output
  pinMode(echoPin, INPUT); // Sets the echoPin as an Input
  Serial.begin(9600); // Starts the serial communication
}
void loop() {
  // Clears the trigPin
  digitalWrite(trigPin, LOW);
  delayMicroseconds(2);
  // Sets the trigPin on HIGH state for 10 micro seconds
  digitalWrite(trigPin, HIGH);
  delayMicroseconds(10);
  digitalWrite(trigPin, LOW);
  // Reads the echoPin, returns the sound wave travel time in microseconds
  duration = pulseIn(echoPin, HIGH);
  // Calculating the distance
  distance = duration * 0.034 / 2;
  // Prints the distance on the Serial Monitor
  Serial.print("Distance: ");
  Serial.println(distance);
}
PermalinkCode Explaination
First, we have to define the Trig and Echo pins. In this case, they are pins 9 and 10 on the Arduino Board, named trigPin and echoPin. Then we need a Long variable named “duration” for the travel time we will get from the sensor and an integer variable for the distance.
// define pins numbers
const int trigPin = 9;
const int echoPin = 10;

// define variables
long duration;
int distance;
In the setup, we have to define the trigPin as an output and the echoPin as an Input and start the serial communication to show the results on the serial monitor.
void setup() {
  pinMode(trigPin, OUTPUT); // Sets the trigPin as an Output
  pinMode(echoPin, INPUT); // Sets the echoPin as an Input
  Serial.begin(9600); // Starts the serial communication
}
In th lisoop, first, we have to make sure that the trigPin is clear, so you have to set that pin on a LOW State for just 2 µs. For generating the Ultrasound wave, we have to put the trigPin on HIGH State for 10 µs.
// Clears the trigPin
digitalWrite(trigPin, LOW);
delayMicroseconds(2);

// Sets the trigPin on HIGH state for 10 micro seconds
digitalWrite(trigPin, HIGH);
delayMicroseconds(10);
digitalWrite(trigPin, LOW);
Using the pulseIn() function, we read the travel time and put that value into the variable “duration.” This function has 2 parameters: the first is the name of the Echo pin, and the second is the state of the pulse we are reading, either High or Low.
// Reads the echoPin, returns the sound wave travel time in microseconds
duration = pulseIn(echoPin, HIGH);
In this case, we need this set HIGH, as the HC-SR04 sensors set the Echo pin to High after sending the eight-cycle ultrasonic burst from the transmitter. This starts the timing, and once we receive the reflected sound wave, the Echo pin will go to Low, which stops the timing. In the end, the function will return the pulse length in microseconds.
To get the distance, we will multiply the duration by 0.034 and divide it by two, as explained in this equation.
// Calculating the distance
distance= duration*0.034/2;

// Prints the distance on the Serial Monitor
Serial.print("Distance: ");
Serial.println(distance);
Ultimately, we will print the distance value on the Serial Monitor.
PermalinkProject Ideas with Ultrasonic Sensors using Arduino
Permalink1. Alarm
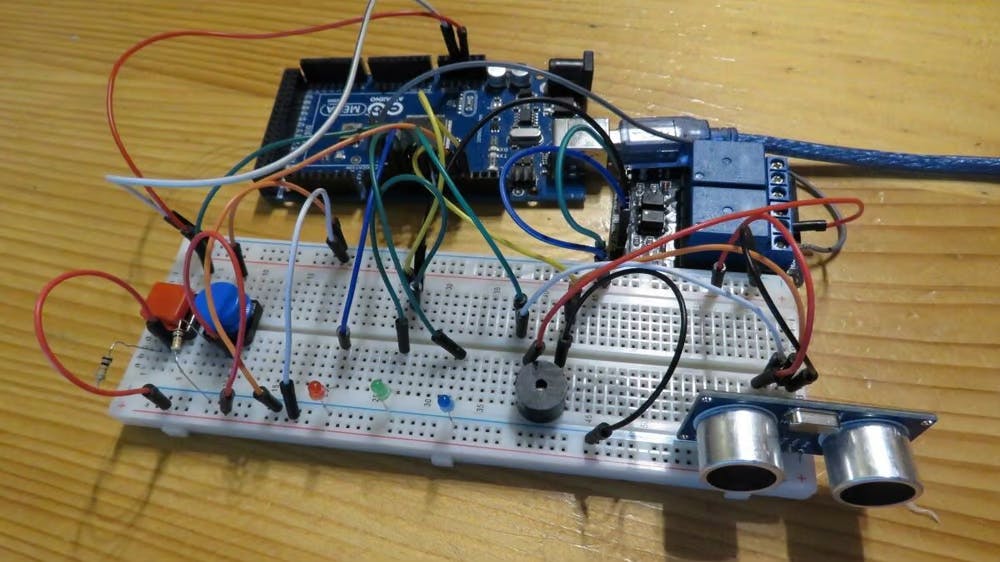 In the convenience of your own home, you may use your Arduino board to build a basic alarm device with the help of an ultrasonic sensor. The alarm can be used as a wake-up signal or for any other purpose. Little one close to the computer? Is the cat approaching the Christmas tree too closely? You're covered.
Permalink2. Parking Sensor
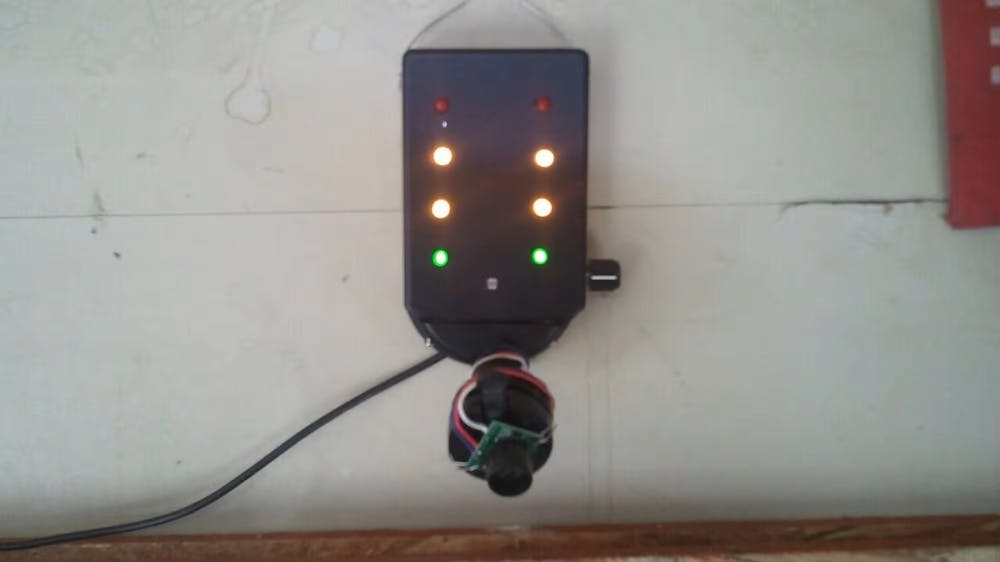 This is somewhat a helpful parking sensor project helps drivers figure out if their car is parked correctly in the garage – no more wondering if you’re too close to the door or other objects in the surrounding space; the sensor will let you know!
Permalink3. Fun Counter with Bluetooth
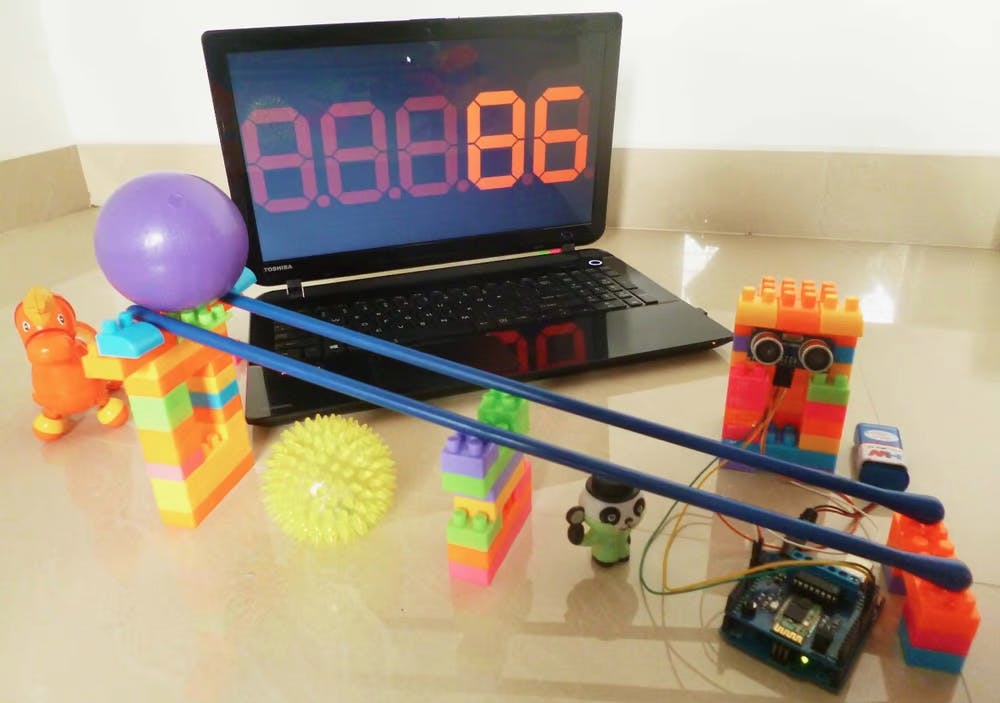 On the search for a simple and fun ultrasonic sensor project for your Arduino? This Instructables tutorial, complete with a video demonstration, has you covered. Utilizing Bluetooth technology, this creative device allows users to count objects in view and display the numbers directly as the things appear.
Permalink4. Radar Detection
 With the help of a trusty servo motor, the ultrasonic sensor in this project is being used for object radar detection. Combined with an Arduino Nano, you can use your device to detect objects in a particular range. An alert symbol will then be displayed and let you know the object’s distance.
Permalink5. Obstacle Avoiding Robot
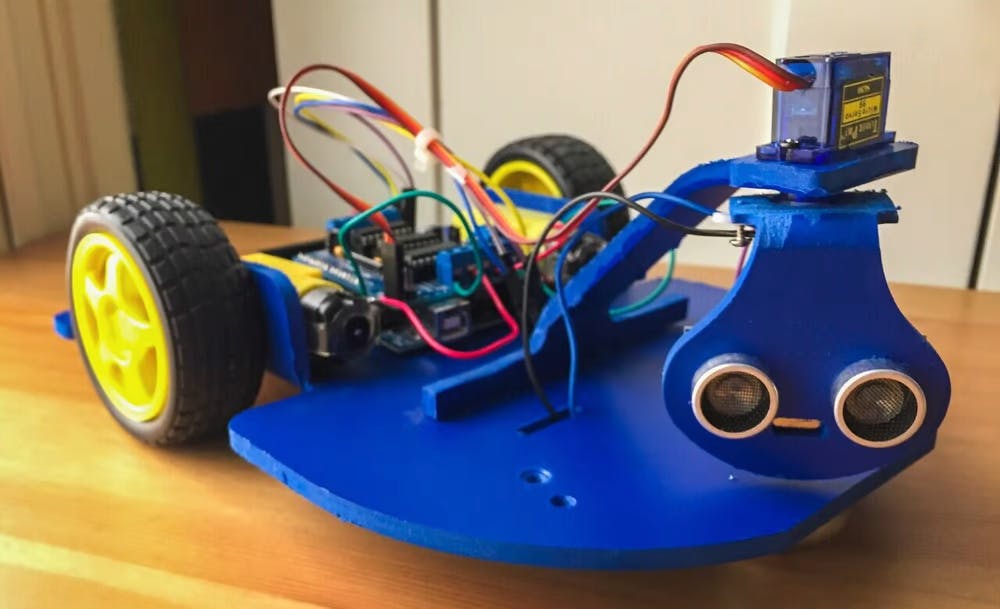 This creative and engaging obstacle-avoiding robot is a great way to test the possibilities of the ultrasonic sensor and your Arduino board.
Stay in touch with us to expand your horizons in the world of robots!!
Follow MARS on GitHub, Hashnode, LinkedIn, and Instagram Happy learning !!!✨


